Page Not Found
Oops! We coudn't find the page you're looking for.
Please try again later.
Error Code: 404
Page Not Found
Oops! We coudn't find the page you're looking for.
Please try again later.
Error Code: 404
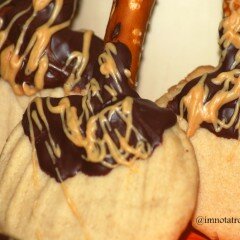
I am in love with the Betty Crocker Halloween Cookbook. I picked up a copy at my local library. I found these broom cookies and knew I had to try them. They aren’t the best looking brooms, but for a test run, I think they are pretty fun! They were really easy too! My [Read more…]